VSCode Priority Dev Tools Extension
The Priority Dev Tools extension is currently in beta and some features are still in development.
Introduction
Priority Dev Tools is a Visual Studio Code extension that provides an integrated development environment for Priority customization work. It enables editing triggers and procedure steps, running SQLI, navigating code, and preparing forms and procedures — all without leaving VS Code.
The extension connects to a Priority environment via OData and reflects changes back to Priority in real time. It complements Priority’s own interface for form design, configuration, and testing.
Prerequisites
System Requirements
Before installing Priority Dev Tools, verify you have:
- Priority application server (version 21.0 or higher recommended)
- Personal access token (PAT) — see Setting Up a Personal Access Token below
- APPVSCODE application included in your Priority license
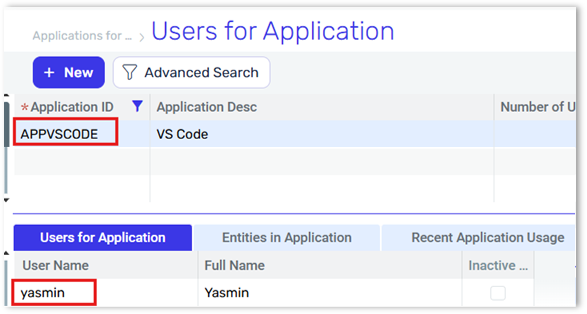
Verifying Your License
- Open the Applications for License form.
- Path: System Management > System Maintenance > Software Licenses
-
Locate APPVSCODE in the Application ID field.
-
If missing, run the Renew License program.
- Open the Users for Application subform and verify your user exists. Add the user if necessary.
Getting Your OData URL
- Run the Send Program Activation Link program and select API.
- Path: System Management > System Maintenance > Users
- Copy the OData service URL — you’ll need it during environment setup.
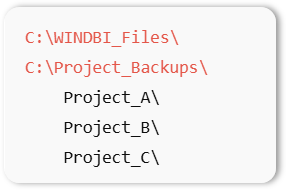
Preparing Your Workspace
Create a dedicated folder on your PC for your customization project files. Inside the backups folder, create a subfolder for each customization project.
Installation
Step 1: Installing VS Code
-
Download from: https://code.visualstudio.com/download
-
Run the installer and follow the prompts.
-
Launch VS Code to verify installation.
Documentation: https://code.visualstudio.com/docs
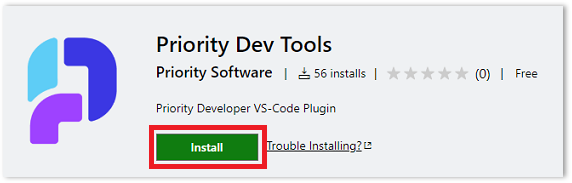
Step 2: Installing the Priority Dev Tools Extension
-
Visit the Priority Dev Tools marketplace page.
-
Click Install and open the installation in Visual Studio Code.
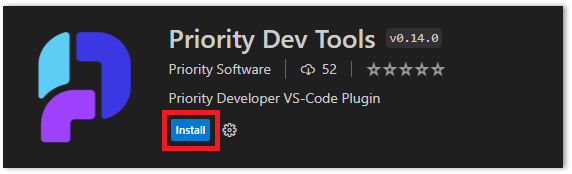
-
Click Install in VS Code.
Step 3: Adding Your First Environment
-
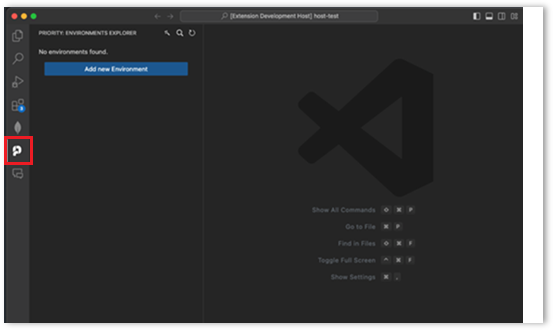
Click the Priority icon in the Activity Bar (on the left) to open the Environments Explorer.
-
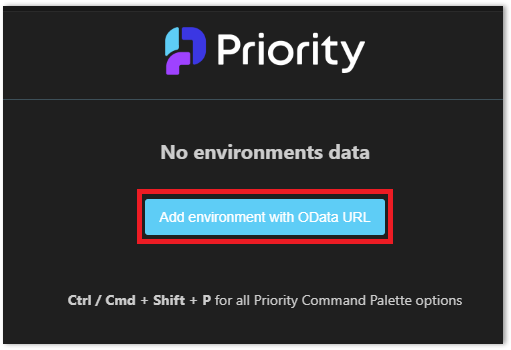
Click Add environment with OData URL.
-
Enter the following information:
Field Value Environment name Descriptive name for this environment OData URL Full URL for the OData service Username Your personal access token Password PAT -
Click Add.

Your environment appears in the Environments Explorer with expandable FORMS, PROCS, and TABLES folders.
Step 4: Managing Multiple Environments
To add additional environments:
-
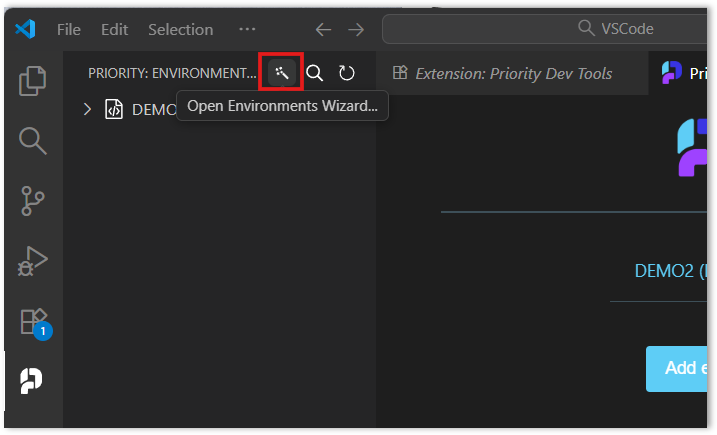
Click the Open Environment Wizard icon in the Environments Explorer toolbar.
-
Follow the same steps as adding your first environment.
To edit or remove an environment:
- Open the Environment Wizard.
- Select the environment from the dropdown.
- Click Edit or Delete.
Setting Up a Personal Access Token
Personal access tokens (PATs) provide secure authentication between VS Code and Priority without requiring a password.
Step 1: Generate Token
-
Navigate to System Management > System Maintenance > Users.
-
Open REST Interface Access Tokens.
-
Click to add a new token.
- Fill in:
- Token Description: “VS Code Integration” (or a descriptive name)
- User Name: Your Priority username
-
Mark the Create Token checkbox.
-
Click OK.
-
Immediately copy the token — it is hidden after you leave the line. Save the token securely. You cannot retrieve it again after leaving this screen.
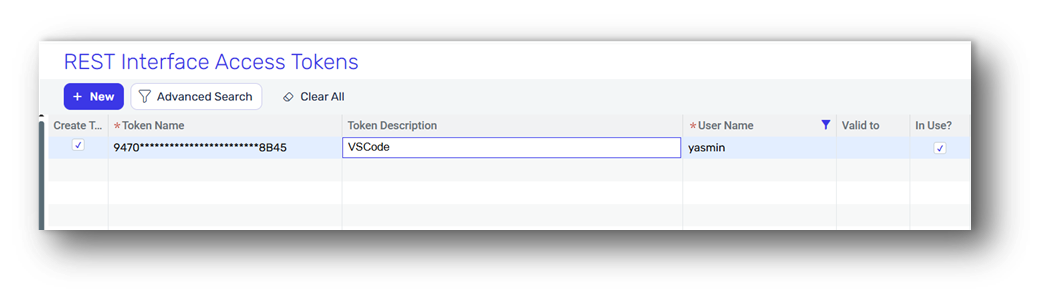
Token format example:
223942EB774846A6B7DCDE9E073251D2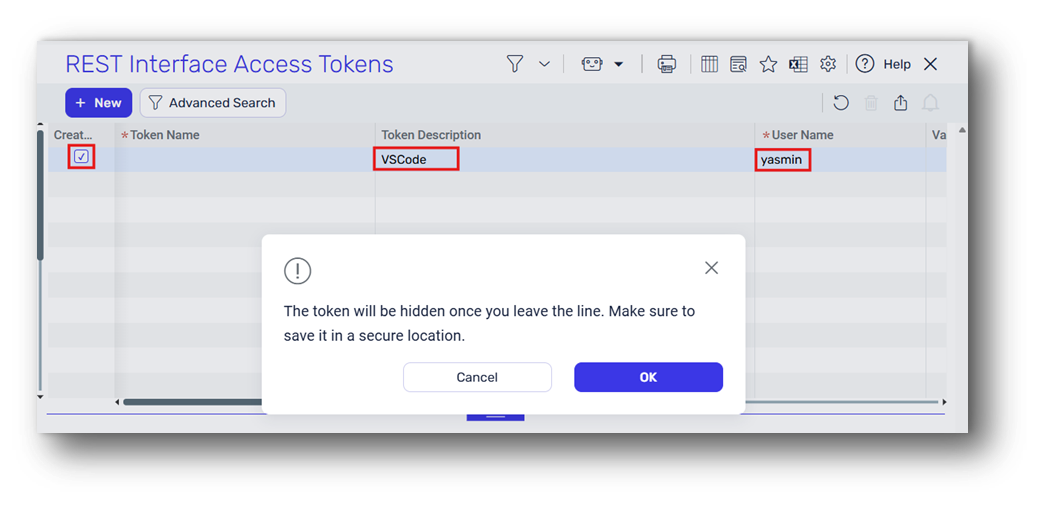
Once you leave the line the record should look like this:
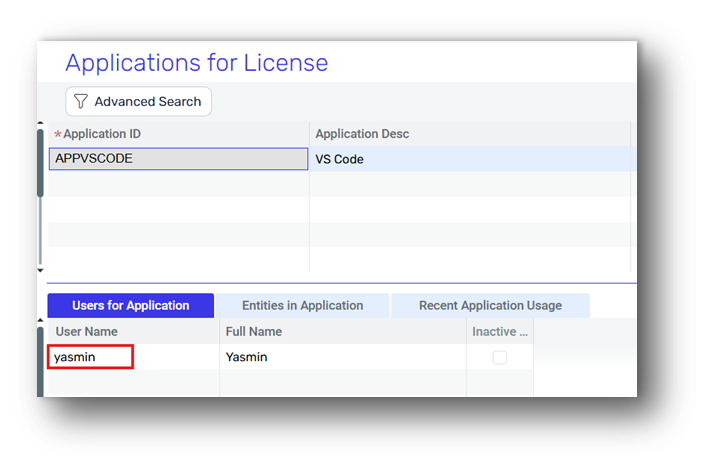
Step 2: Add the User to Your APPVSCODE License
- Navigate to System Management > System Maintenance > Software Licenses.
- Open the Applications for License form.
- Search for the APPVSCODE application.
-
In the Users for Application subform, add your user name.
Step 3: Configure VS Code Authentication
When adding an environment in VS Code:
- Username: Paste the token value (e.g.,
223942EB774846A6B7DCDE9E073251D2) - Password: Enter exactly
PAT(case-sensitive)